
The most useful shoe size is not the number printed inside your last pair. It is a current measurement of your longer foot, compared with the size chart for the exact model you are considering. Shoe labels vary by region, manufacturer, last shape, width, and intended activity. Measuring at home gives you a stable starting point.
You need a sheet of paper larger than your foot, a pencil, a ruler or tape marked in millimetres, and the socks you expect to wear. Measure both feet on a hard floor rather than a soft carpet. If you use an orthotic, measure with it in mind and test it in the shoe before wearing the pair outside.
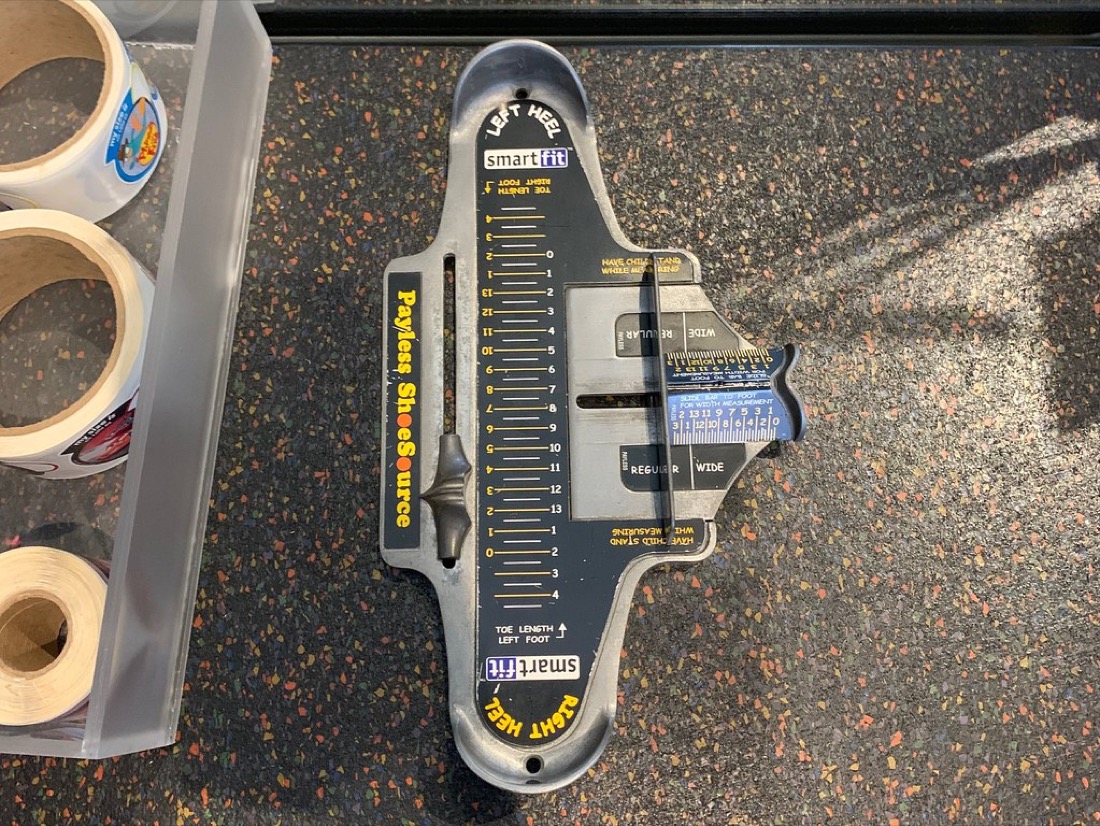
Photo: Phillip Pessar, CC BY 2.0, via Flickr.
Measure length while standing
Place the paper against a wall and stand with one heel gently touching the wall. Keep your weight balanced as it would be when walking. Mark the tip of the longest toe; it is not always the big toe. Step off the paper and measure from the wall edge to the mark in centimetres or millimetres. Repeat for the other foot and use the longer result.
Do the measurement later in the day if you can. Feet can change volume after normal activity, and the pair needs to work when your feet are not at their smallest. Repeat the measurement if the marks differ significantly; a skewed pencil or a foot that was not fully weighted can create a misleading result.
Measure width when the model offers it
Width is not solved by adding extra length. If the retailer offers width information, measure around the widest part of the forefoot or use the method specified by the brand. A shoe can have a correct heel-to-toe length but still compress the toes, rub the little-toe joint, or press over a high instep. Conversely, buying a much longer pair to gain width can cause heel movement and toe impact on descents.
Use the exact model’s description to understand its purpose. A running shoe may need room for forward movement; a hiking boot may be tested with thicker socks; a court shoe may prioritize lateral hold; a sandal needs the foot to remain inside the footbed. One successful casual trainer size does not automatically transfer across all of those uses.
Read the size table in the right order
- Find the chart for the exact model and storefront region.
- Locate its CM or JP foot-length column when available.
- Match your longer-foot measurement to the stated range.
- Check width, fit description, upper material, and sock assumptions.
- Translate to US, UK, or EU only after selecting the length range.
This order is safer than applying a fixed conversion equation. EU numbers may appear as ranges, and men’s, women’s, children’s, and unisex scales are not interchangeable. A conversion table is a translation tool, not a guarantee that two shoes share the same inside dimensions.
Test a new pair indoors
Try both shoes with the intended socks. Lace or fasten them as you normally would, stand, walk, turn, and flex the foot. The longest toe should not hit the front. The heel should remain stable without painful tightening. The forefoot should not feel numb or pushed upward by the upper. For boots, test on a gentle incline if the retailer’s indoor conditions allow it.
Retain the packaging and follow the seller’s return policy until you have made that assessment. If you are between sizes, decide from the model’s stated fit and the activity you will use it for; do not rely on reviews alone, because another shopper’s width, socks, and preferred ease may differ from yours.
Keep a fit log
After confirming a successful pair, note the model, size, width, foot measurement, sock thickness, and activity. That small log turns future shopping from guesswork into comparison. It also reveals useful patterns: perhaps a certain last works for your forefoot, or perhaps a hiking boot needs a different size than a low-profile casual shoe.
For official model-specific guidance, consult the adidas shoe size chart, the Nike footwear fit guide, or the New Balance size and width guide. Those sources change over time, so use the current product page as the final purchase reference.
Measuring carefully will not eliminate every fit preference, but it gives you a clear, repeatable basis for choosing and exchanging shoes online.
Common measurement mistakes to avoid
Do not measure while seated, trace around the outside of a loose shoe, or round a result up before checking the model table. Avoid measuring only one foot or using a child’s old size as a substitute for a current measurement. If the product page lists an insole length rather than recommended foot length, read that label carefully: the two are not interchangeable. When in doubt, save a screenshot of the current chart with your measurement notes so you can explain a return or compare a future model accurately.
Worked example: use millimetres before a size label
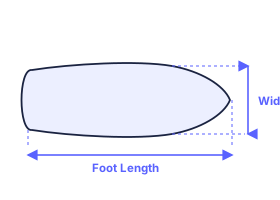
Suppose your longer foot measures 247 mm at the end of the day and the product’s own table offers a 245–250 mm recommendation. Start with that range before looking at US, UK, or EU labels. If the model is described as narrow, evaluate width or try the larger option under the retailer’s return terms; if it is a roomier hiking shoe, your planned sock thickness may matter more than a familiar sneaker size.
The important part is the order of the decision. “US 8” is only a label. A 247 mm measurement, the model’s stated range, the width information, and the intended sock create a reasoned choice. Save those four details in your fit log. The next time you compare a shoe, you will have evidence rather than a guess.
Before checkout, confirm this short list:
- I measured both feet while standing and used the longer result.
- I matched length to the exact model’s chart, not a generic conversion table.
- I checked width, upper material, sock thickness, and the listed fit intent.
- I understand the indoor try-on and exchange conditions.
You can compare your result with our shoe size chart and men’s shoe size category reference. Neither replaces a model-specific product chart, but both help explain the labels you will encounter.