
Children’s shoe sizing should begin with the foot in front of you, not with age, school year, or the label in an older pair. Feet grow unevenly, the left and right foot may differ, and a shoe that feels acceptable for five minutes can still be too short, too wide, or too loose for running and climbing. A repeatable measurement and a quick movement check are more useful than guessing one full size ahead.
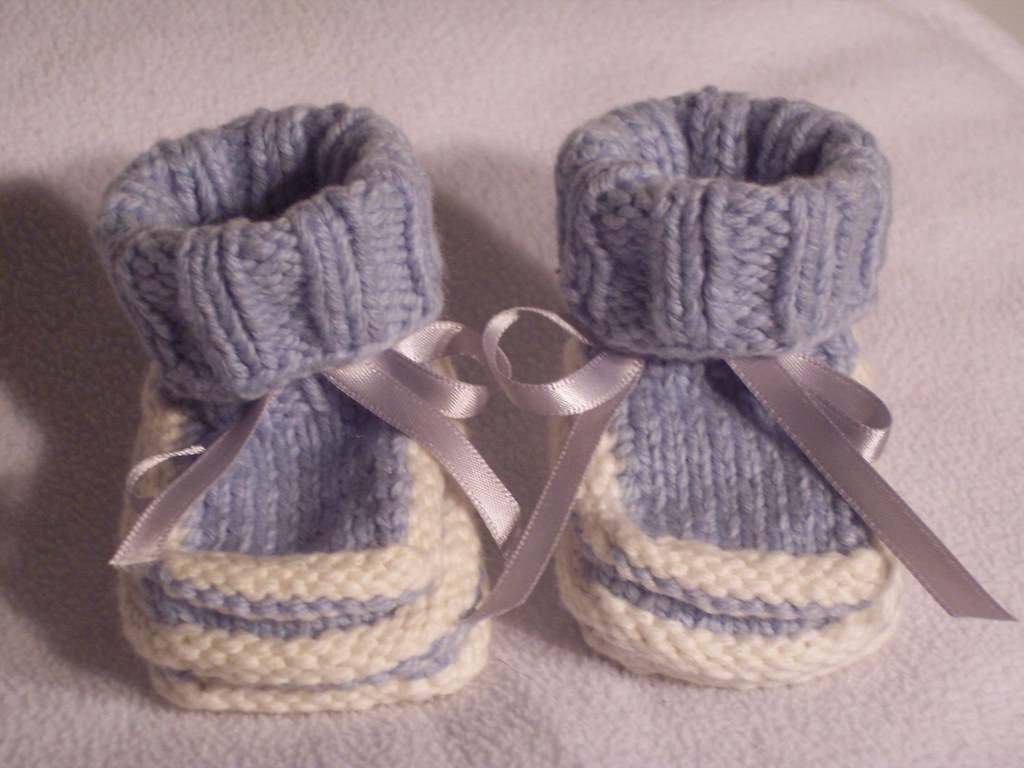
Photo: handmaidenbymaria, CC BY 2.0, via Flickr.
Set up a reliable measurement
Use paper, a pencil, a ruler with millimetres, and the socks the child will normally wear. Measure late in the day or after normal activity when possible, because feet can spread and swell. Place the paper on a hard floor against a wall. Have the child stand with weight distributed naturally and one heel lightly touching the wall. Sitting, lifting the heel, or curling the toes makes the result shorter than the foot needs in use.
Young children may find it hard to stay still. Turn the process into a short game: place each heel at the wall, look forward, and make one small mark at the longest toe. Avoid tracing around the complete foot with a pencil held at an angle; the line can add inconsistent extra width. Repeat the process for both feet.
Measure both feet and use the longer result
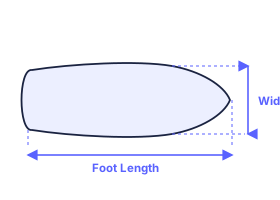
Measure the straight distance from the wall edge to the longest toe mark in millimetres. Record both results and use the longer foot for the first size decision. It is normal for one foot to be slightly longer or wider. Buying for the smaller foot can create toe pressure in the larger one; a small fit adjustment or sock choice can often manage the smaller side better.
Measure width only when the brand requests it or when the child regularly has pressure at the little toe, a high instep, or difficulty fastening shoes. Width is not fixed by choosing extra length. A longer shoe can move the flex point away from the ball of the foot, create heel slip, and make running less stable.
Read the brand chart before converting labels
Open the chart for the exact brand and product category. Children’s size sequences can be labelled toddler, little kid, big kid, youth, UK, US, EU, or CM, and the labels do not translate safely by memory. When the chart gives a recommended foot-length range in CM or millimetres, use that as the primary column. Then confirm the displayed regional size at checkout.
Check what the number means. A recommended foot length differs from insole length and internal shoe length; the latter two include some construction space. Do not add a second arbitrary allowance to an insole number unless the brand explicitly instructs you to do so. The manufacturer’s chart is more useful than a generic age-to-size table.
Leave growth room without making the shoe unstable
Children need room in front of the toes, but “buy a full size bigger” is not a dependable rule. The appropriate allowance depends on the shoe type, the maker’s fit guidance, growth rate, and activity. A school shoe, a flexible sandal, a football boot, and a ski boot require different security and movement control. Follow the brand’s stated room recommendation whenever it is available.
A useful practical check is to confirm that the child can stand and walk without the toes pressing into the front, while the heel remains stable and the shoe bends near the ball of the foot. If the shoe is so long that the child grips with the toes or the heel lifts at every step, the extra room is not helping. A well-fitting shoe should protect movement, not require the child to compensate for it.
Check fit during normal movement
Try both shoes on with the intended socks. Ask the child to walk, squat, climb a step, and make a small turn. Watch for a heel that slips, a closure that cannot be adjusted comfortably, a toe box that visibly compresses, or a child who removes the shoes quickly after moving. Young children may say a shoe is “fine” even when they have not noticed pressure, so observe behaviour as well as the answer.
Inspect the old pair too. Toe wear, deep impressions, a repeatedly loose heel, or a child avoiding one shoe can reveal what to assess in the replacement. Do not rely only on pressing the front of the shoe: thick uppers and structured toe caps can make this hard to judge.
Build a repeatable family record
Keep a simple note with date, longer-foot measurement, brand, model, stated size, sock thickness, and fit result. Re-measure regularly during periods of rapid growth and before seasonal footwear purchases. The record reduces guesswork when a store uses another regional size system or when siblings wear different brands.
- Measure while standing on a hard floor.
- Record both feet in millimetres and use the longer result.
- Use the exact brand’s foot-length range before a regional size label.
- Check width and heel stability rather than adding length to solve pressure.
- Follow the manufacturer’s growth-room guidance for that product.
For a quick reference table, visit the Kids Size Chart. For adult footwear, the method in How to Measure Feet at Home explains the same length-first principle in more detail. A measurement is only the start; comfortable, stable movement is the final test.