
A familiar size label is useful only as a memory. It is not evidence that a new garment will fit. Brands use different blocks, ease allowances, grading rules, regional labels, and product silhouettes. A medium in one label can be a close fit, a relaxed fit, or a finished-garment measurement that is not comparable to a medium anywhere else.
The safest starting point is the size chart attached to the exact product, followed by a current measurement and an honest idea of how you want the item to fit. This process is slower than choosing the size you usually buy, but it is much faster than guessing, returning, and trying to reconstruct why a purchase did not work.
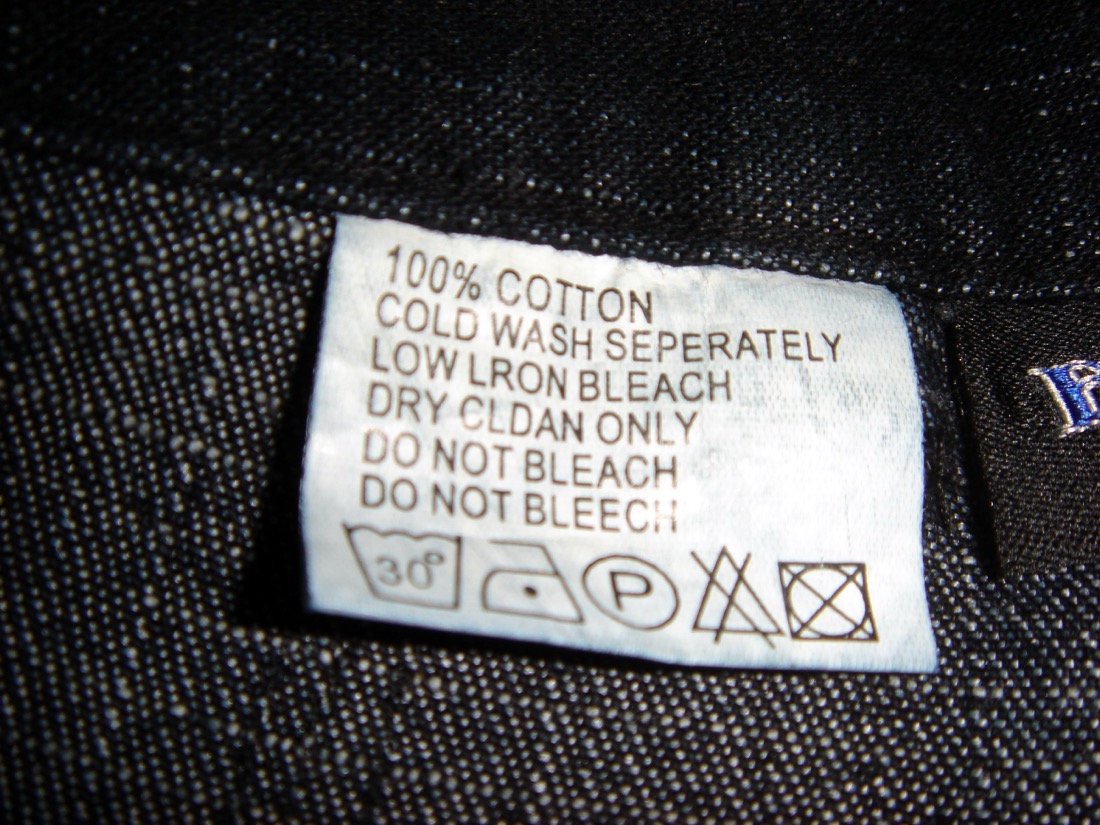
Photo: 邰秉宥, CC BY-SA 2.0, via Wikimedia Commons.

Find the chart that belongs to the item
Start on the product page, not a search result or a marketplace listing. Check whether the chart belongs to the exact product, a collection, or the whole brand. A product described as oversized, cropped, slim, wide-fit, lined, or compression should have a fit note that changes how the chart is interpreted.
If the site offers both a general brand chart and a product-specific chart, treat the product chart as the stronger source. The general chart may describe the body range that the brand targets. The product chart may add finished dimensions, fabric stretch, or cut-specific advice. When the two appear to disagree, do not average them; read the labels and determine whether they are describing different objects.
Identify what each number means
Before comparing numbers, look for three labels:
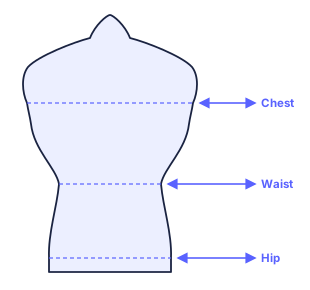
- Body measurement: a recommended chest, waist, hip, or foot length for the wearer.
- Garment measurement: the finished dimension of the item, often measured flat.
- Measurement method: where the tape begins and ends, whether the item is relaxed or stretched, and whether a flat width must be doubled.
For example, “fits waist 76–80 cm” is not the same statement as “waist 40 cm flat.” The first gives a body range. The second usually gives a garment width that may represent about 80 cm around the waistband, depending on the method. A shopper who treats both numbers as body circumference can choose the wrong size while following the chart perfectly.
Use the controlling measurement first
Every product has one or two measurements that matter most. For a rigid skirt, hip may control the choice because the waist can be altered more easily. For a button-front shirt, chest and upper back often control the choice. For a fitted jacket, shoulder and chest may matter before sleeve length. A stretch legging may need hip and fabric recovery rather than the waist label alone.
Write down your current measurement or measure a successful item in your wardrobe. Then compare the controlling point before checking every other column. If that point falls outside a size range, a matching sleeve length or familiar letter size does not solve the problem.
A worked decision
Imagine a shopper with a 96 cm chest looking at a woven shirt. The brand chart recommends size M for a 94–98 cm chest and size L for 99–103 cm. The product is described as regular fit with no stretch. The shopper wants normal movement rather than a deliberately close fit. M is the evidence-based starting point because the body measurement falls inside its stated range. The next step is to check the product’s chest measurement, shoulder width, and return conditions—not to move up automatically because another brand’s medium was tight.
If the shopper is 98 cm exactly and plans to layer a heavier base layer, the decision is less certain. The fit note, finished-garment chart, and intended use should resolve the tie. “Between sizes” is a context question, not a permanent rule to always size up.
Keep a brand-specific record
After a successful purchase, save the brand, product family, size, key body measurement, fit description, and fabric type. This creates a useful personal reference without pretending that every product from the brand will fit the same way. A relaxed cotton tee and a tailored woven shirt can share a label while using different fit logic.
Use our brand size guides to find a starting reference, then confirm against the current official product page. For the difference between body and garment measurements, read our comparison guide. The best chart is the one that tells you what was measured, what the product is intended to do, and how to make a decision from your own measurements.
A quick source check before checkout
Use a general brand guide as an orientation tool, then make the exact listing the final authority. Check that the chart names the same product family, customer group and region as the item in your basket. A men’s chart, a women’s chart, a unisex selector and a children’s scale can use related labels without meaning the same thing. If the product page has a “find my size” tool, read what it asks for: it may use body measurements, purchase history or both.
Keep the source trail visible. A useful record contains the official chart URL, the date you viewed it, the row you chose and the measurement that controlled the decision. This is especially important when a retailer changes seasonal stock or a marketplace uses a translated chart. If a seller’s product table conflicts with a general brand table, do not average the numbers. Find out whether one describes the body and the other describes the finished garment. In most cases, the exact product table is the more useful purchasing source.